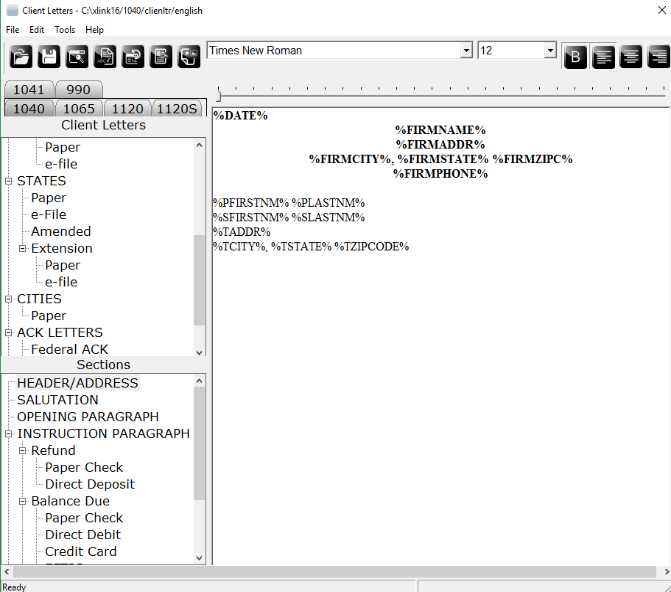
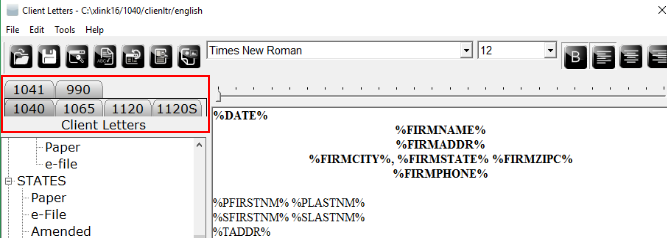
Select the tab of the type of return for which you want to edit a letter. Â
Modify the letter by adding, deleting, or changing the verbiage within the letter
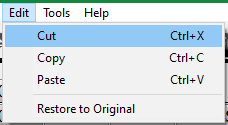
Cut, Copy, and Paste by going to "Edit," and scrolling down to the needed function. Â
To use the Keywords function, which allows you to enter variables such as First Name and Last Name
​Place the blinking cursor in the letter where you would like to insert the Keyword.
Click on ![]()  and the "Keyword" window will open. This function is also available from the Menu Bar under Tools.
 and the "Keyword" window will open. This function is also available from the Menu Bar under Tools.
Choose the Keyword you would like to use from the list by clicking on it. The Keyword will become highlighted.
Click Insert. To enter another Keyword, click on it to highlight and click Insert.
Click Close when finished entering Keywords. Â
To check the spelling of the letter
​Click on ![]()  and the "Spelling" window will open only if there are any spelling errors in the letter. The misspelled words will be underlined in red. Make appropriate spelling changes as necessary.
 and the "Spelling" window will open only if there are any spelling errors in the letter. The misspelled words will be underlined in red. Make appropriate spelling changes as necessary.
Â
Click on the next Section of the letter to edit. You will be prompted to save the previous section just edited. Click Yes to Save or No to keep the previous version of the edited section.
Â
To preview the Client Letter
Click on 
![]() Â and the "Preview Client Letter" window will open. Additional letters can be previewed by choosing from the drop down list at the bottom of the screen and clicking Preview. Click Close when finished previewing the letter.
 and the "Preview Client Letter" window will open. Additional letters can be previewed by choosing from the drop down list at the bottom of the screen and clicking Preview. Click Close when finished previewing the letter.
​​To save the Client Letter
​​Click on ![]()  to save the Client Letter to the current location, or click File in the Menu Bar and scroll down to Save As in order to save to a new location. Create a file name for the Client Letter in the new location.
 to save the Client Letter to the current location, or click File in the Menu Bar and scroll down to Save As in order to save to a new location. Create a file name for the Client Letter in the new location.
To open a Client Letter saved to a new location
​​Click on ![]()  to open the "Select a Client Letter to Edit" window. Select the new file to open. This function is also available from the Menu Bar under File.
 to open the "Select a Client Letter to Edit" window. Select the new file to open. This function is also available from the Menu Bar under File.
To abandon changes made to a letter and reset the default letter
​​Click ![]()  to restore the letter to the original. Please note that all edits made to this section of the Client Letter will disappear. This function is available from the Menu Bar under Edit.
 to restore the letter to the original. Please note that all edits made to this section of the Client Letter will disappear. This function is available from the Menu Bar under Edit.
Click on ![]()  to insert the Tax Preparer`s black and white bmp file logo into Client Letters.Â
 to insert the Tax Preparer`s black and white bmp file logo into Client Letters.Â
Click File in the Menu Bar and scroll down to Exit Client Letters.
​Â
Article ID: 35
Created: Thu, Jul 14, 2016
Last Updated: Wed, May 26, 2021
Online URL: //kb.erosupport.com/article-35.html