
This feature is designed to let the user design/develop their own custom client letters.Â
We have designed this feature to be fully customizable from within 1040 Online.
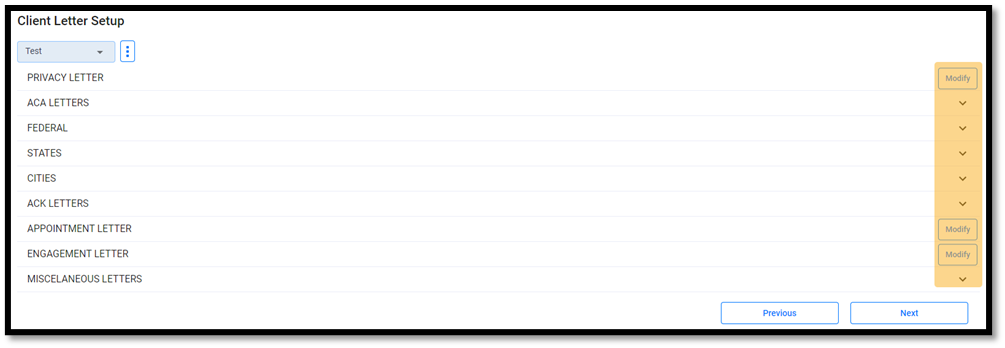
 Follow the instructions below to successfully setup a client letter:
 ðŸ–  NOTE: Custom letters can be saved as your login's default client letter by selecting ![]() , then Set as Default.
, then Set as Default.
Article ID: 873
Created: Mon, Mar 28, 2022
Last Updated: Mon, Aug 15, 2022
Online URL: //kb.erosupport.com/article-873.html