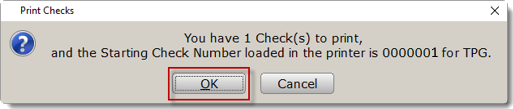
Important Note: The orientation of the check stock within the printer varies by printer model. If you are unsure of the correct orientation for your specific model, refer to KB 580Â How to Print Test Checks.
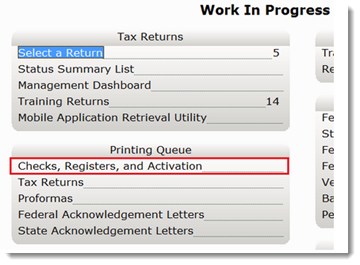
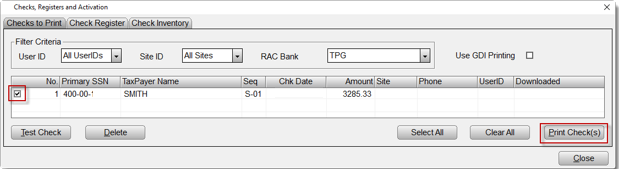
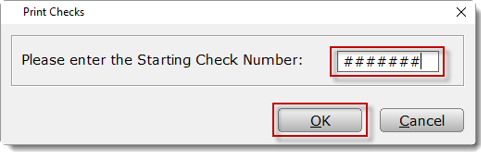
 Print Checks in the 1040 Desktop Program
Important Note: The orientation of the check stock within the printer varies by printer model. If you are unsure of the correct orientation for your specific model, refer to KB 580Â How to Print Test Checks.
Article ID: 579
Created: Thu, Feb 16, 2017
Last Updated: Wed, Nov 10, 2021
Online URL: //kb.erosupport.com/article-579.html