How to Print Test Checks
Printing Test Checks
The orientation of check stock within a printer varies by printer model. For example, some require the checks to be loaded face down, while another model may require face up. Some also require the top of the check be towards the top of the tray, while others require the bottom of the check be towards the top of the tray.
It is recommended that you put an 'X' in the corner of a blank piece of paper to test for the proper orientation for your specific printer.
Refer to the following steps provided to print test checks:
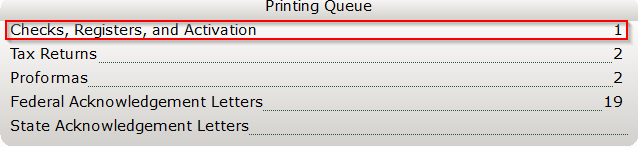
- From the Work In Progress screen, in the Printing Queue panel, click Checks, Registers and Activation.
- Click the Test Check Button.

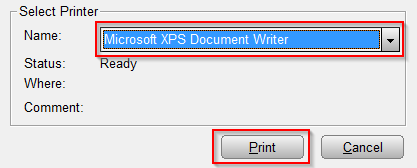
- Select the desired printer by clicking the Name field and then click Print.
- If using a blank piece of paper, overlay the printed test check on top of a piece of real check stock and hold it up to the light to check for proper alignment.
NOTE: If the alignment requires adjustment, proceed to the next section, KB 318Â How to Vertically Align Text on a Check